
Happy Sunday!
I know this post is a little late. Friday and Saturday were spent cleaning grout, and honestly, I would much rather have been sewing.
This blouse is finally finished, and I am looking forward to wearing it. I think it will be a great addition to my wardrobe for our fall weather.
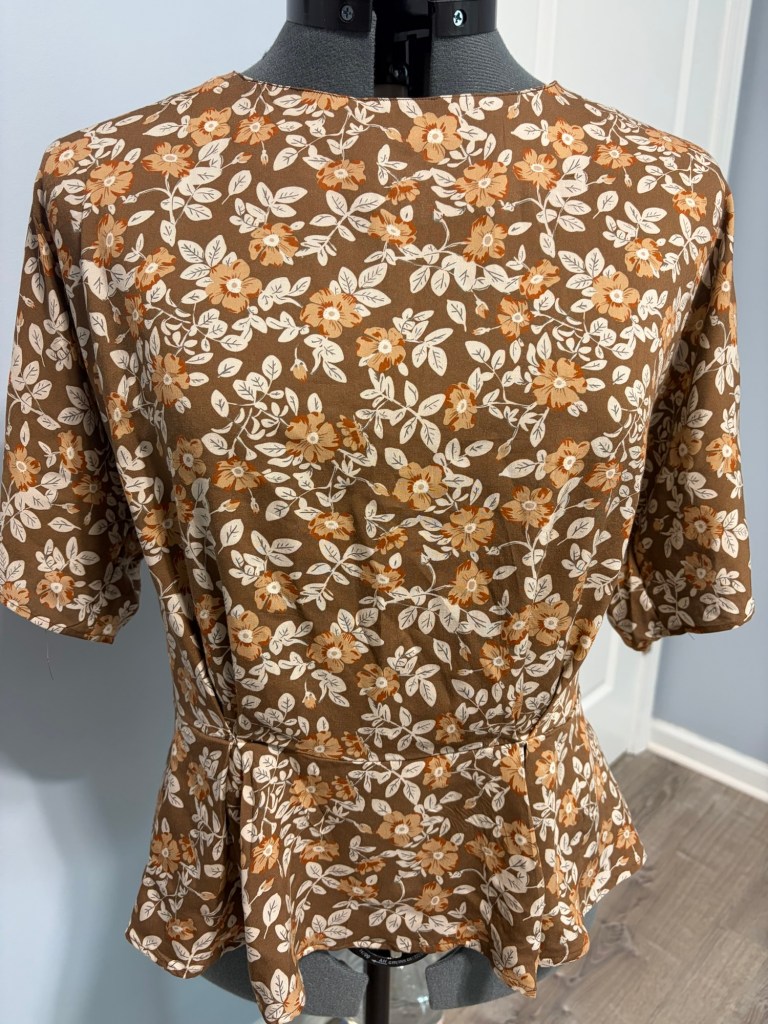
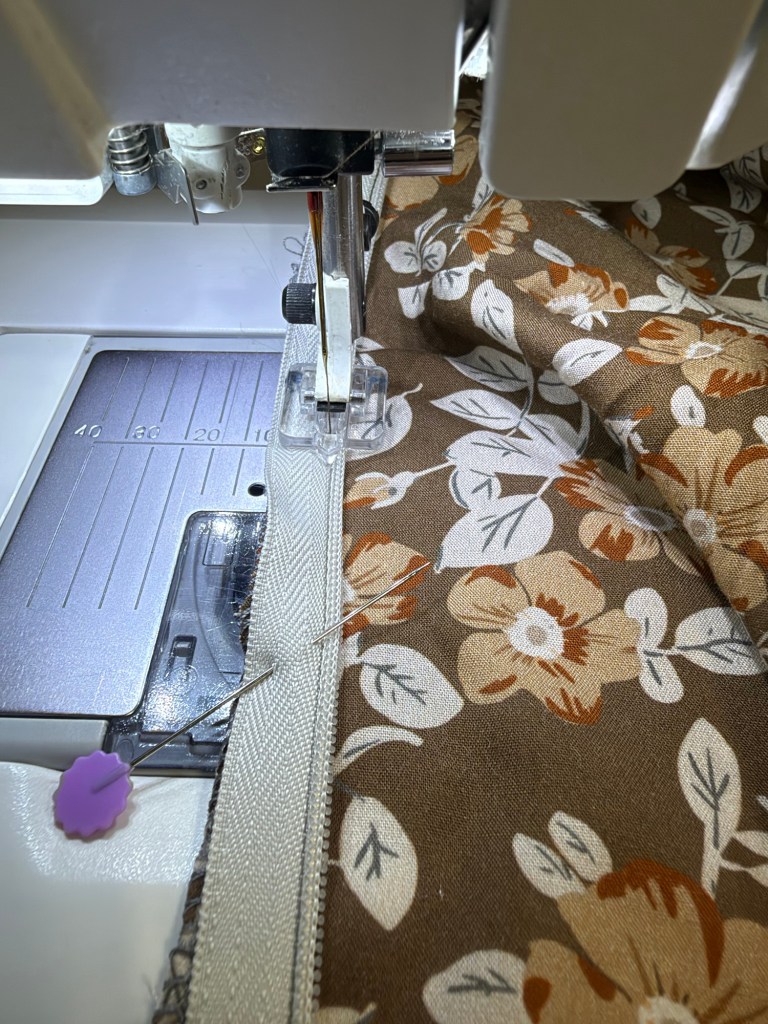
Overall, this is a fairly simple blouse to sew. The most challenging part is lining up the sleeves correctly. This version also features an invisible zipper in the back. To help stabilize the fabric, I added featherweight interfacing along the zipper opening. I cut the interfacing into 1/2-inch strips and pressed it into place before inserting the zipper. This added stability is especially important because the zipper is much heavier than the fabric itself.
One trick that helped me achieve a perfectly centered back closure was marking the zipper at the points where I wanted the seams to match. Doing this eliminated the guesswork and made installation much easier.
I really enjoy using invisible zippers because they provide such a clean, polished look on the back of a blouse. They are especially useful when you cannot find an exact color match for your fabric.
My only bump in the road was realizing that I did not have an invisible zipper on hand. Since we no longer have Joann nearby, a quick trip to the store was not an option. Fortunately, Amazon came through, and I had the zipper in hand this morning.
If you are new to installing invisible zippers, the best tip I can give is to press the zipper coils open before sewing. I also highly recommend purchasing an invisible zipper foot for your sewing machine. It makes the process much easier and helps you achieve professional-looking results.
Do you have any favorite tools or tricks for installing invisible zippers? I would love to hear about them in the comments.
Happy Sewing,
Valerie


