

Happy Saturday,
Welcome back! My goal over these next several posts is teach the basics. Once you have the basics, you can really grow your skills as a seamstress. These skills are important because they are building blocks for successful sewing.
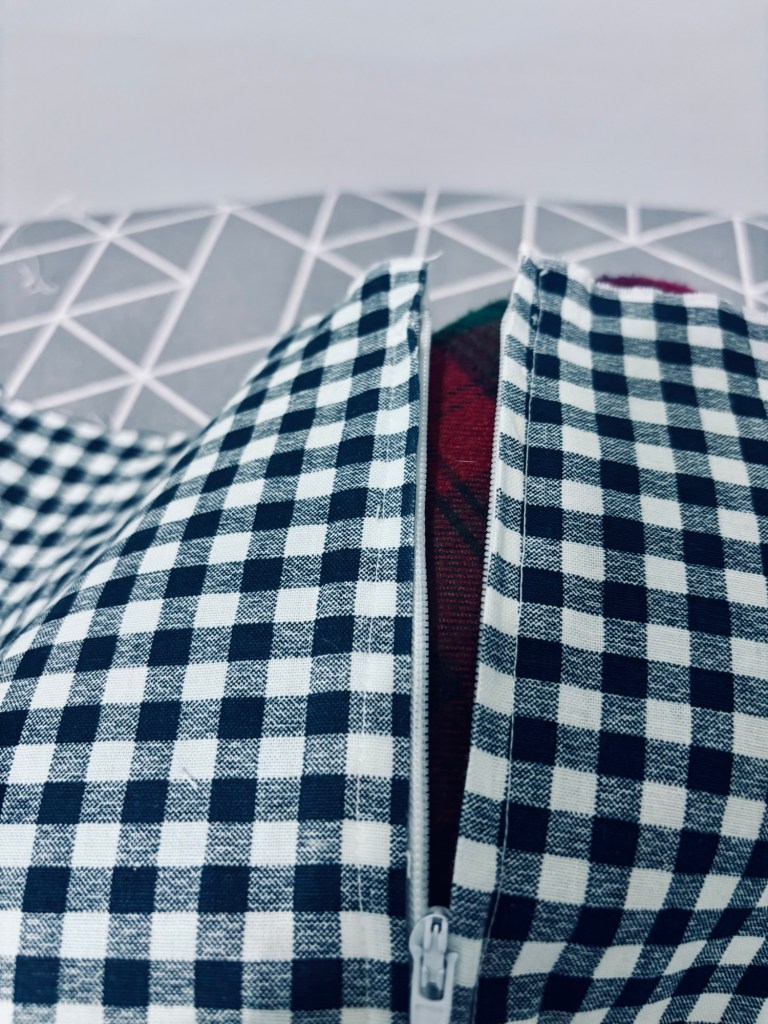
We are going to discuss the center zipper. Don’t fear the zipper. Yes at first it can feel intimidating. It is possible to be very successful with some practice.
I am going to go Step by Step in the process. Below is video to show the steps.
- Finish your seams before putting in the zipper. I serged the fabric. You can zig-zag the fabric or cut the fabric with pinking shears. This will keep the fabric from unraveling.
- Match up the fabric with any notches or stripes. Use as many pins as needed to keep the stripes in place.
- Baste the stitches until you reach the notch for the bottom of the zipper. Finish the rest of the back seam with a regular stitch. Press the garment flat.
- Baste in the zipper. Make sure to use a zipper foot. This will help keep stitches straight. Do not sew on the garment but sew on the seam selvage. Baste the zipper on both sides of the garment.
- Sew on the right side of the garment. Take the zipper head and slide down to the bottom of the zipper. Take your time. Line up the zipper foot against the zipper and stitch down. Use a regular stitch.
- Sewing to the bottom of the zipper, pivot and come up the other side. Check the stitching to make sure they are even. If you do have something crooked, just removing the stitches and then go back over the spot. You do not have to start over again.
- Remove the basting. Gently use a seam ripper to remove the stitches. Be careful and take your time, you do not want to rip your fabric.
- Now that you are done, admire your work.
Here is a video showing step by step on putting in the zipper.
If it is not as straight as you want it, go ahead remove the stitches and try again. If only a small area is crooked, remove the stitches from that area. Then line up the stitching lines.
You can practice putting in a zippers. Zippers are pretty cheap on Amazon. Take the time to practice putting them in until you feel comfortable. You will be able to put in a zipper and have the gingham match up too.
This is a skill so practice is key. Once you conquer this skill, you will be able to put them quickly.
What tasks in sewing are intimating. When you face a pattern that requires a specific technique, what makes it seem impossible?
Let me know if you have any hacks for putting in zippers, that you would like to share. This can help everyone.
Happy Sewing,
Valerie
